© Rob Wood

© Rob Wood

© Rob Wood

© Rob Wood

© Rob Wood

© Rob Wood
© ESF Alpe d'Huez
About cross-country skiing in Alpe d'Huez
Ski de fond in Alpe d'Huez
Alpe d'Huez has 50km of pisted cross-country ski trails that run in loops (“boucles” in French), so you end up back where you started.
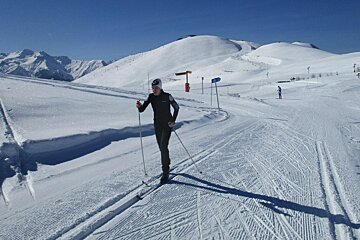
Kept in tremendous condition the trails are prepared in the same way as the normal pistes, with the addition of a pre-formed classic XC ski style tracks. The two pre-formed grooves are around 4” deep and around 12” apart. There are two sets of tracks on each trail, one on the left and one on the right-hand side, and here in France you should ski on the right side, just like driving. Travelling up on the right side and then back down on the other track (again on the right as you descend) avoids problems between uphill and downhill skiers.
The loops are graded like ski runs - blues are the easiest and reds are a bit harder. There are only blues and reds in Alpe d’Huez and all the loops and trails are clearly marked and signposted, making them really easy to follow.
Boucle Huez (The Huez loop)
Blue trail - 10km loop.
Starting and finishing in Huez village, it takes you up and down the Sarenne gorge all the way up the end of the Sarenne black run by the pick-up point for the “scare chair”. Mainly shaded and in the bottom of a valley, this is a nice tree lined track well away from the crowds, but it can get really cold.
Boucle Rochette (The Auris loop)
Blue, then red trail - 16km in total.
Over in Auris across the scare chair from resort, the blue section runs from Auris in a direction back towards Alpe d’Huez and joins up with the red section which is around the Auris signal area. The red section is north facing and like the Huez loop can get quite chilly.
Boucle de Brandes (The altiport loop)
Blue trail - 6km in total.
From the Les Bergers area it heads out around the golf course, past the Altiport and up towards the medieval fort. It provides stunning views of the Sarenne gorge and across the valley towards Les Deux Alpes.
Boucle de Poutran (The DMC loop)
Blue trail - 10km in total.
From the base of the DMC lift station up towards the mid-station, but goes around the periphery of the bowl rather than the normal alpine skiing pistes. At the top of the trail where it meets the Boucle des Lacs is the “hippodrome” area, a XC dedicated track which is perfect for practising and offers great views.
Boucle des Lacs (The lake loop)
Red trail - 10km in total.
This trail starts up at the highest point of the Boucle de Poutran and can be accessed from the DMC lift mid-station if you don’t fancy the uphill ski to it. It takes you right out to the Lac Du Besson and then onto the L’Alpette lift and back again. A lovely loop with some steeper sections, but nothing too bad. The restaurant at Lac Besson is a real hidden gem that can be found here as well.
The maintenance of the trails does come at a price. You will need a cross-country ski pass (forfait fond), which contributes to the trail preparation and mountain rescue fees. Alpe d'Huez cross-country passes are only available to buy from the ski pass offices and you can choose passes either with or without lift access. Even if you're not using the lifts, you will need to be in possession of a cross-country pass, as spot checks are carried out on the mountain.
Watch this
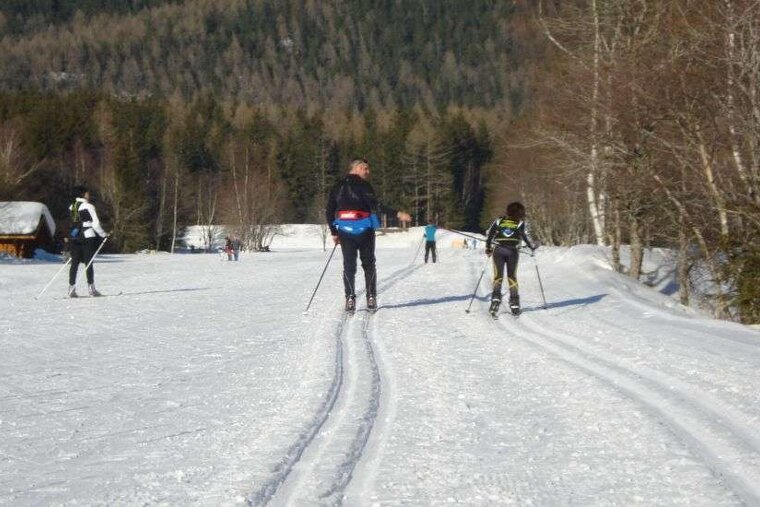
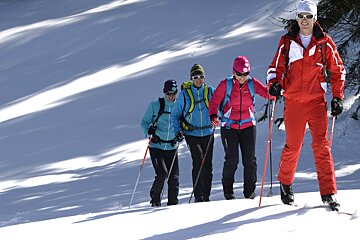
Book a cross-country ski lesson
Whilst cross-country skiing appears to be just walking, which it is on the flat and even on the uphill sections, going downhill is trickier than it looks. A lesson will provide you with the basic knowledge and skills that will allow you tackle uphill sections and more importantly come back downhill nice and safely. You will learn the basic descending style of one ski in the pre-formed track and one as a snowplough type brake. Once you’ve mastered this try and ski downhill in a snowplough type position.
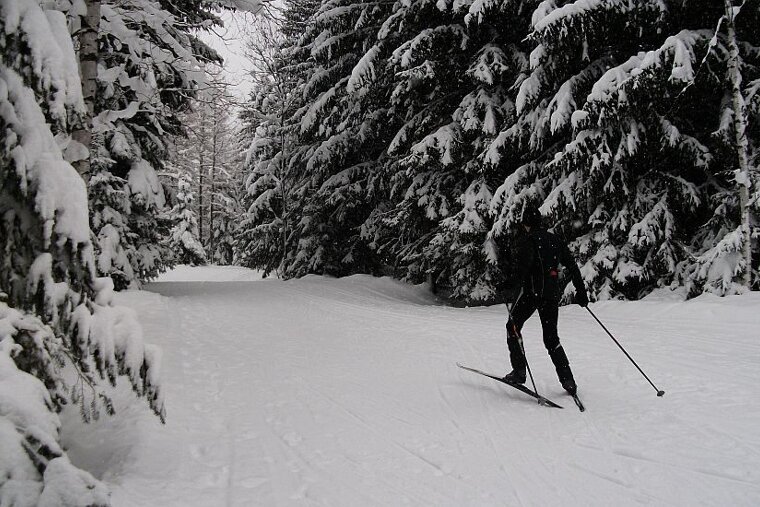
Cross-country skiing
What to wear
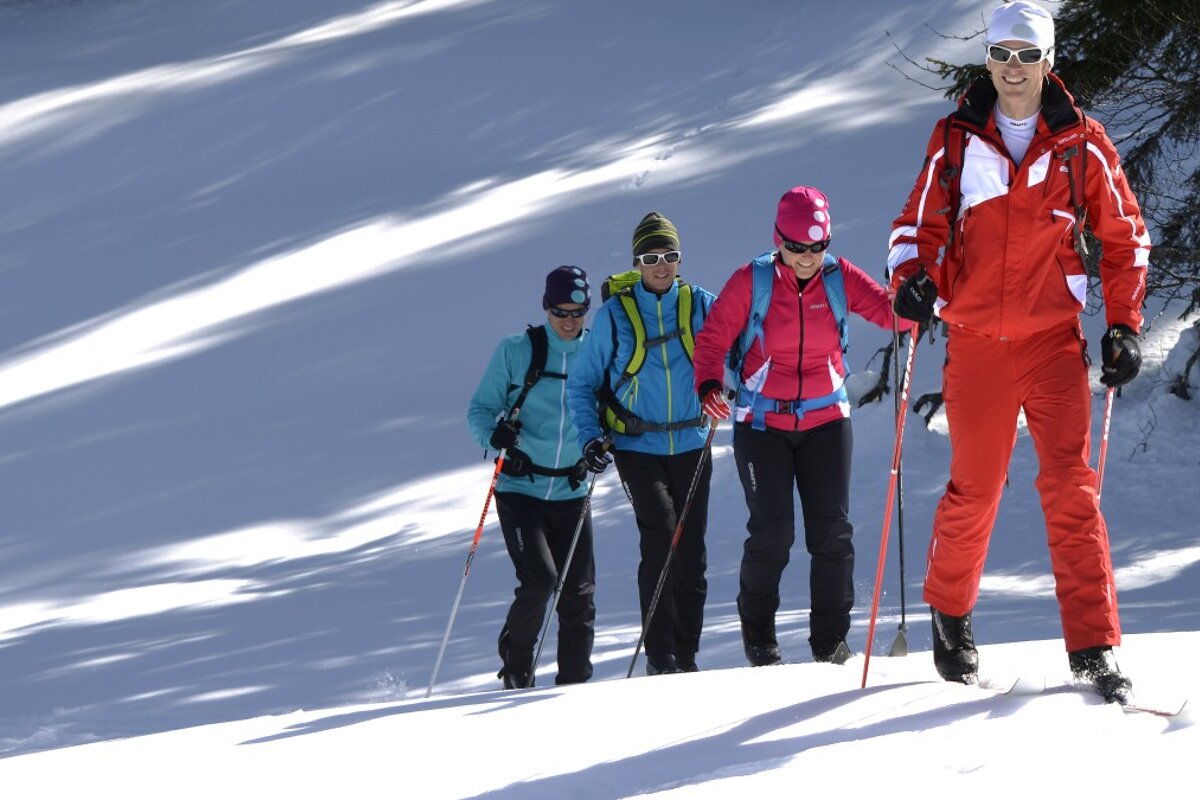
Many of the cross-country skiers you see in resort wear clothing more along the lines of cycling clothing rather than that of normal alpine skiers. It gets very warm cross-country skiing, so wear layers that can be removed as necessary.
Take a rucksack for your clothing and supplies, and don't forget some snacks and plenty of water. The “camelbak” type hydration backpacks are great for cross-country skiing, room for your layers and a drink combined as well. They also mean you can grab a drink without having to take your rucksack off and when you are drinking regularly this really helps. You will need around one litre of liquid for a three to four hour ski session. You can burn in the region of 1,500 calories in a two hour cross-country session at fairly high intensity, so you will need to keep your energy levels up. Bananas are always a great snack when exercising, the slow release potassium really helps fight fatigue.
More fitted trousers will help with the technique of both classic and skating, less chaffing as your legs move. Helmets generally aren’t worn but you may want a bobble hat or headband to keep your ears warm. Remember it gets really warm going uphill and cooler going downhill. Gym/cycling base layers are great if you have them or something with a wicking layer. The wicking fabric helps remove the sweat from your torso and keep it in the material itself which helps keep you cool when climbing and also stops you getting cold when descending.
Classic or skating style
As a beginner go for classic style, where you generally keep your skis in a straight line and it’s more of a walking style, this is the basic style to initially master. Once you’ve mastered classic style you may decide this is for you and continue with your development of the technique. Alternatively, you may decide to take up skating style, this is the more advanced technique that you see the biathletes using. It’s more advanced and requires a more technical skill set. Top tip – to begin with stick with classic and see how you get on.
Skis and poles
There are different skis for classic and skating, so make sure you get the right skis for the type of skiing you are going to do. The skis are longer than normal alpine skis, somewhere between 95% and 105% of your height, the poles are much longer too (between chest and shoulder height in relation to your body) for pushing uphill, so don’t be tempted to try and use your normal alpine ski poles.
Most cross-country skis are “wax-less” as the traction for going uphill is provided by a “fish-scale” type grip pattern on the central section on the bottom of the ski. If your skis don’t have a “grippy” section on the bottom you will need to wax them for traction, then you need to get the right wax.
Soft wax = more grip uphill, but slower downhill. Hard wax = less grip uphill, but quicker downhill.
Top tip: To begin with get skis with a “grippy” section to eliminate the wax issue.
Boots
Make sure your boots fit well, nice and snug. Cross-country ski boots are more like a hiking boot, in many ways similar to a winter ankle style cycling boot. Ensure they fit well as you are basically walking and jogging in them whilst skiing for several hours a day.
Hiring equipment
You can hire cross-country ski equipment from a number of ski hire shops in resort. Check in the shop for current prices.
More inspiration...
Find the cross-country ski maps for Alpe d'Huez.
Take a look at this year's ski lift pass prices and if you're not sure which one to buy, read our guide for more information.


